
1. Download latest WinUAE executable (Setup program) from www.winuae.net
2. Double click InstallWinUAE1340.exe to run WinUAE setup program.
3. Click Next
4. Make sure you select Complete via "Select the type of install" drop down and then Click Next

5. Leave "Destination Folder" set to C:\Program Files\WinUAE and click Install

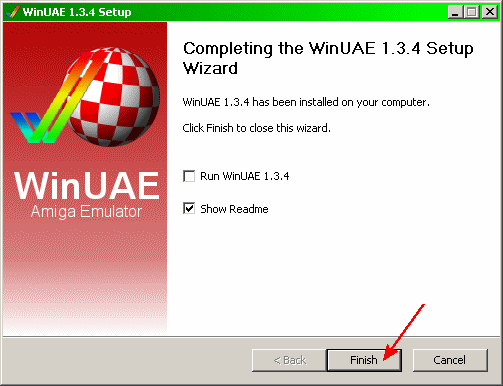
6. Leave "Run WinUAE 1.3.4" unticked (as we don't want to run WinUAE yet) and click Finish
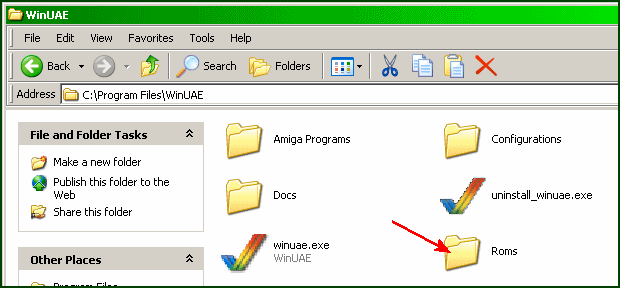
7. Next go to your WinUAE directory (default location is: C:\Program Files\WinUAE)
8. Make a new directory and name it Roms then copy all your kick-start ROM files into this new directory.
9. To add IPF (Interchangeable Preservation Format) support to WinUAE, then visit the Software Preservation Society website at http://www.softpres.org and download the Windows User Library from the downloads page (Click download and then on Windows next to Download User Library)
10. Open the ipflib_w32.zip file and extract and copy CAPSImg.dll to your WinUAE directory (default location is: C:\Program Files\WinUAE)
11. Now close all open explorer windows and launch WinUAE.
12. If it asks you to ‘Detect 16-bit Pixel format’, click Yes.