
Back to Home | Workbench 1.3 Guide Contents | Site Map
1. Download WinUAE executable (Setup program) from www.winuae.net
2. Install WinUAE and follow the on screen instructions.
3. Next copy your Kick-Start ROM file into C:\Program Files\Winuae (or make a new directory and name it Roms then copy your ROM file into this new directory.)
4. Next make another new directory in C:\Program Files\Winuae and name it Hard Disks
5. In Hard Disks make another directory called WB1.3
6. Now close all open explorer windows and launch WinUAE.
7. If it asks you to ‘Detect 16-bit Pixel format’, click Yes.
8. Go to ROM Properties and click ‘...’ button and set the path to your kick-start 1.3 ROM File.
9. Next go to Hard Drives Properties.

10. Click Add Directory...
11a. In Device Name: type DH0
11b. In Volume Name/Label: type in WB1.3
12. In Path type C:\Program Files\WinUAE\Hard Disks\WB1.3 (or click ‘...’ button and point to this directory) And then click OK.

13. Next go to CPU Properties

14. Under CPU Type:- select 68000
15. Tick More compatible.
16. Under CPU Emulation Speed:- select Match A500 speed
17. Go to RAM Properties.

18. Set The following Memory Settings to:-
Chip - 1 MB
Slow - Somewhere around 512k to 1 MB
19. Under the Chipset Properties just tick ECS Agnus

20. Now Go to Display Properties

21. In Display (screen resolution) options - Screen > Fullscreen, Select via the drop-down boxes - 800x600 and 32-bit or 16-bit.
22. Under Centring:- Tick both the Horizontal and Vertical settings.
23. Under Settings:- Tick Correct aspect ratio, Full-Screen
24. Under Line mode:- Tick Doubled.
25. Now go to Sound Properties
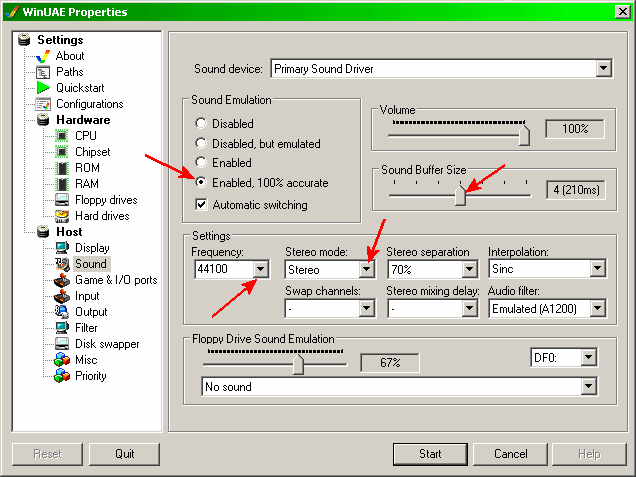
26. Set the following options:-
Sound Emulation - choose Emulated 100%
accurate.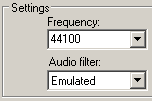
Sound buffer size - I find it best at around the 5 to 6 setting
Frequency - choose 44100 Hz
Stereo Mode - choose Stereo
 .
.What does RH and Crux stand for? - Crux is Berndt Schmidts old handle. - RH stands for Richard Hoffmann. (Thanks to Lockrobster for the information) For more information see this thread on EAB.
27. Last go to Configurations Properties.

28. Type in Name box i.e.:- A500 WB1.3 HD and Type something in Description box and click the Save button (you should then see the config appear in the list.) That concludes Chapter 1.
Click Here For Chapter 2 - Installing Workbench 1.3
|
Method 2 |
Chapter 2 |